Introduction
The complete code for this tutorial can be found at: https://github.com/CPunisher/wgpu-cross-tutorial
This article focuses on implementing "cross-platform" solutions rather than explaining the principles of wgpu and rendering. For a deeper understanding of rendering principles, please refer to jinleili's tutorial. The core principles in this article are also referenced from the "Integration and Debugging" section of that tutorial. Therefore, this article can be viewed as an extension and supplement to the "cross-platform" integration part of jinleili's tutorial.
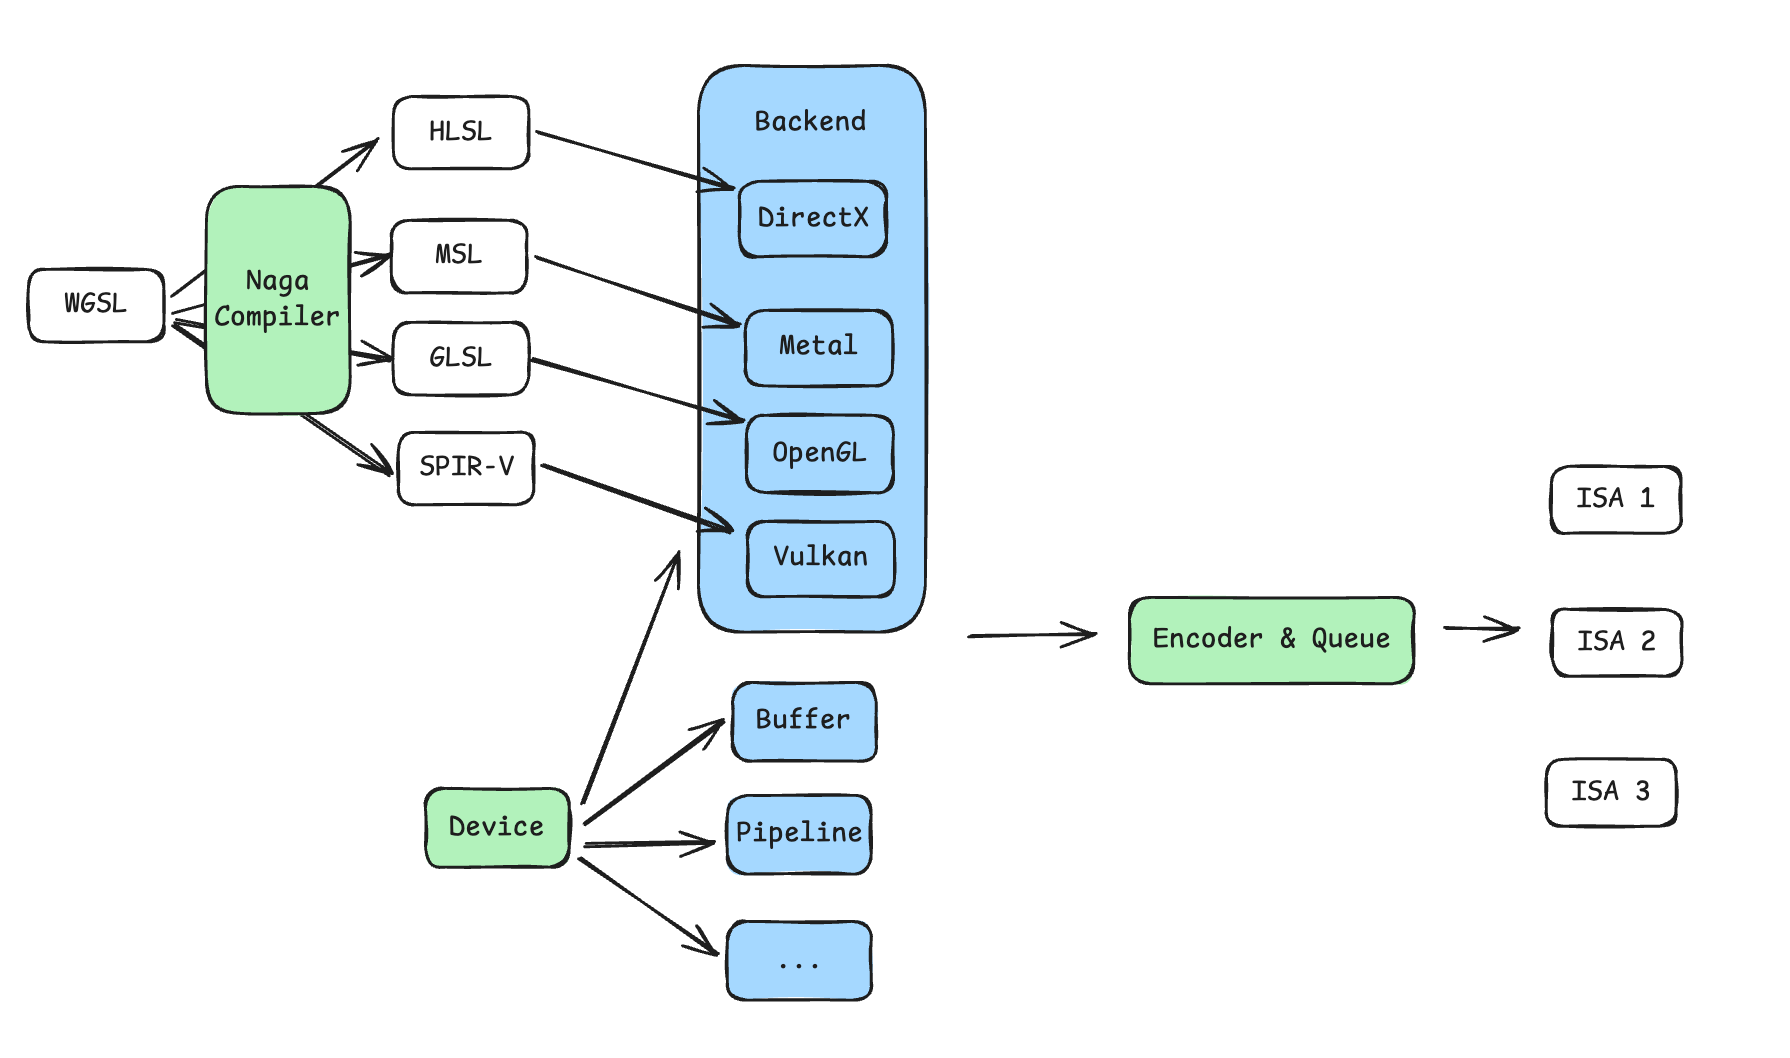
Since we're talking about cross-platform development, what exactly does "platform" mean? In ordinary CPU program compilation, we represent the target platform using a target triple, which includes the CPU architecture (x86, Arm, Risc-V, etc.) and the operating system (Windows, Linux, MacOS, etc.). The architecture determines how hardware interprets binary machine code (Instruction Set Architecture), while the operating system determines how applications access the file system, create processes and threads, etc. A platform is essentially a combination of these different elements. In GPU graphics programming, there are also elements that constitute different platforms:
- GPU hardware ISA.
Unlike CPU architectures, what we're more familiar with are rendering backends, such as OpenGL, Vulkan, Metal, DirectX. These encapsulate abstractions of underlying graphics hardware, capable of compiling their respective shader language instructions and graphics API instructions to different hardware instructions. - Display Surface.
A display surface provides the actual display area, pixel operation interfaces, basic drawing functionality, and other software interfaces. It is generally provided by specific software frameworks, such as Apple's CoreAnimationLayer, Qt framework's QSurface, and WebGL or 2D Canvas in Web Canvas.
Therefore, to run the same code on different platforms, the key is to abstract these different components and then select the appropriate components based on the platform. Fortunately, wgpu has solved almost all compatibility issues for us:
- wgpu directly provides options for different rendering backends and abstracts out
DeviceandQueue.Device: The provider of rendering resources. All resources needed for rendering, such as Buffers, Pipelines, GPU instruction Encoders, etc., need to be allocated through this struct.Queue: The queue for sending rendering or computation instructions to the GPU. All instructions are encoded into Buffers through Encoder, and then formally sent to the GPU for rendering or computation requests throughQueue::submit.
- Different rendering platforms support different shader languages. wgpu has a built-in Naga compiler that can compile the same WGSL language to other shader languages, such as DirectX's HLSL, Metal's MSL, OpenGL's GLSL, and Vulkan's SPIR-V.
- wgpu also directly provides support for different
Surfacetypes, including Apple-specificCoreAnimationLayerand adaptations for other systems or Display Servers.

In summary, with the power of wgpu, to render unified graphics on different platforms, you just need to maintain consistent overall steps (WGSL shader, Pipeline, Encoder instructions) and then adjust:
- Set different rendering backends
- Set different
Surfacebased on the graphics framework used - You may need to make some minor configuration adjustments, such as pixel format
General Process
The initialization process for wgpu can also be referenced in jinleili's tutorial in the "Dependencies and Windows" and "Display Surface" chapters. The boilerplate code is basically the same for each platform. To adapt to multiple platforms, I made slight adaptations to the code, with the general process as follows:
pub mod renderer;

pub struct InitWgpuOptions {
    pub target: wgpu::SurfaceTargetUnsafe,
    pub width: u32,
    pub height: u32,
}

pub struct WgpuContext {
    pub surface: wgpu::Surface<'static>,
    pub device: wgpu::Device,
    pub queue: wgpu::Queue,
    pub config: wgpu::SurfaceConfiguration,
}

pub async fn init_wgpu(options: InitWgpuOptions) -> WgpuContext {
    let instance = wgpu::Instance::new(&wgpu::InstanceDescriptor {
        // 1. Select graphics backends and create `Instance`. We enable all backends here.
        backends: wgpu::Backends::all(),
        ..Default::default()
    });

    // 2. Create wgpu `Surface` with instance
    let surface = unsafe { instance.create_surface_unsafe(options.target).unwrap() };

    // 3. Request `Adapter`` from instance
    let adapter = instance
        .request_adapter(&wgpu::RequestAdapterOptions {
            power_preference: wgpu::PowerPreference::default(),
            compatible_surface: Some(&surface),
            force_fallback_adapter: false,
        })
        .await
        .unwrap();

    // 4. Request `Device` and `Queue` from adapter
    let (device, queue) = adapter
        .request_device(
            &wgpu::DeviceDescriptor {
                required_features: wgpu::Features::empty(),
                required_limits: wgpu::Limits::default(),
                label: None,
                memory_hints: wgpu::MemoryHints::Performance,
            },
            None,
        )
        .await
        .unwrap();

    // 5. Create `SurfaceConfig` to config the pixel format, width and height, and alpha mode etc.
    let caps = surface.get_capabilities(&adapter);
    let config = wgpu::SurfaceConfiguration {
        usage: wgpu::TextureUsages::RENDER_ATTACHMENT,
        format: caps.formats[0],
        width: options.width,
        height: options.height,
        present_mode: wgpu::PresentMode::Fifo,
        alpha_mode: caps.alpha_modes[0],
        view_formats: vec![],
        desired_maximum_frame_latency: 2,
    };
    surface.configure(&device, &config);

    WgpuContext {
        surface,
        device,
        queue,
        config,
    }
}
Now we have all the elements needed for graphics rendering. After this, you can render whatever content you want, with the general steps as follows, jinleili's tutorial:
- Initialize rendering content (init): Use
Deviceto create Buffers, Pipelines, compile shaders, etc. needed for rendering - Execute for each frame (render): Use
Deviceto create CommandEncoder, encode instructions, and submit to Queue - Then, based on the window framework used, call
renderat each redraw. For example, in winit'sEventLoopwhen receiving theWindowEvent::RedrawRequestedevent; in iOS, call it in the component'sdrawmethod; in Web Canvas, manually call it repeatedly inrequestAnimationFrame.
Rendering on Windows/MacOS Desktop
On the desktop, winit is used as a cross-platform window management and event loop library. wgpu natively supports creating a Surface from a winit window instance. The overall process is very straightforward and simple, refer to the example code and jinleili's tutorial.
Rendering on iOS
Although winit also supports related APIs on the iOS platform, we generally prefer to render graphics within a local area of the App. Therefore, we don't directly use winit to take over the entire App window. We will directly use wgpu and interact with SwiftUI/UIKit.
On iOS, the graphics backend actually chosen is Metal, and the Surface is CAMetalLayer. This raises 2 questions:
- Where does
CAMetalLayercome from? - How to pass
CAMetalLayerfrom SwiftUI to Rust?
Let's answer the first question: CAMetalLayer can be obtained by creating an MTKView to get the underlying layer. MTKView is a UIKit component and cannot be used directly in SwiftUI. Fortunately, Apple provides UIViewRepresentable that allows us to wrap UIKit components as SwiftUI components, and use Coordinator and MTKViewDelegate to implement UIKit event delegation and data transfer:
import SwiftUI
import MetalKit

struct WgpuLayerView: UIViewRepresentable {
    typealias UIViewType = MTKView

    func makeCoordinator() -> Coordinator {
        let coordinator = Coordinator()
        return coordinator
    }

    func makeUIView(context: Context) -> MTKView {
        let view = MTKView()
        view.delegate = context.coordinator
        view.device = MTLCreateSystemDefaultDevice()
        view.preferredFramesPerSecond = 60
        view.enableSetNeedsDisplay = false
        return view
    }

    func updateUIView(_ uiView: MTKView, context: Context) {}

    class Coordinator: NSObject, MTKViewDelegate {
        func mtkView(_ view: MTKView, drawableSizeWillChange size: CGSize) {}
        func draw(in view: MTKView) {
            // CAMetalLayer: view.layer
        }
    }
}
Then, we can create this component in the familiar SwiftUI way:
struct ContentView: View {
    var body: some View {
        VStack {
            WgpuLayerView()
                .frame(width: 400, height: 400)
        }
        .padding()
    }
}
Now let's answer the second question. Swift uses LLVM as its backend, and after compiling to binary objects, it can link static libraries through the linker, ultimately combining them into an executable binary file. Therefore, passing CAMetalLayer from SwiftUI to Rust is roughly divided into two steps:
- Compile Rust to a static library and expose interface functions based on C-ABI
- Declare these exposed function symbols in the iOS project, and relocate the symbols to the static library during final linking
With modern languages and compilation tools, both steps do not require a lot of manual effort.
Compilation and Linking of Executable Programs
Simply put, before code text is compiled into the final binary file, it is first compiled into multiple binary files at a certain granularity. For example, function names and variable names in third-party dependencies used by a module are first placed in a "to-be-filled area." During linking, multiple binaries fill and integrate by finding corresponding declared symbols in other binary files based on the gaps in their respective to-be-filled areas.
To compile a Rust program to a static library, just declare in Cargo.toml:
[lib]
crate-type = ["staticlib"]
Next, we declare C-ABI compatible interfaces, using only pointers and simple data types such as integers for parameter passing.
In the initialization function, we expose Rust data structures on the heap to Swift through Box::into_raw.
In the render function, we want to accept the pointer exposed to Swift, regain a reference to the Rust data structure, and then call our encapsulated rendering function.
#[repr(transparent)]
pub struct WgpuWrapper(*mut c_void);

#[unsafe(no_mangle)]
pub fn init_wgpu(metal_layer: *mut c_void, width: u32, height: u32) -> WgpuWrapper {
    let app = pollster::block_on(app::App::init(metal_layer, width, height));
    WgpuWrapper(Box::into_raw(Box::new(app)).cast())
}

#[unsafe(no_mangle)]
pub fn render(wrapper: WgpuWrapper) {
    let app = unsafe { &*(wrapper.0 as *mut app::App) };
    app.render();
}
The Purpose of no_mangle
Modern compilers rename symbols defined in code to solve various problems that might arise during compilation and linking. When exposing binary APIs, we want to call these APIs using the names we wrote in the code, so we use
no_mangleto suppress the compiler's renaming behavior.
Using the cargo command to get the compiled output libswift_binding.a and copy it to the Xcode project. The --target aarch64-apple-ios-sim specifies the target program platform as an arm architecture iOS simulator. For actual devices, appropriate modifications should be made.
cargo build --release -p swift-binding --target aarch64-apple-ios-sim
cp target/aarch64-apple-ios-sim/release/libswift_binding.a WgpuCross/WgpuCross/Generated/
Next is step 2. First, declare the header file in the Xcode project:
#ifndef libswift_binding_h
#define libswift_binding_h

void *init_wgpu(void* metal_layer, int width, int height);
void render(const void* wrapper);

#endif
You can see that the signatures of these two functions correspond to the function signatures exposed in Rust (function names, parameter types, return value types). Additionally, in the Xcode project configuration, we need to import the header file and specify the path of the static library for the linking stage.
-
Import Header File: Modify
Build Settings→Swift Compiler - General→Objective-C Bridging Header, fill in the header file path, for example:$(PROJECT_DIR)/WgpuCross/BridgingHeader.h -
Specify Static Library Path: Modify
Build Phases→Link Binary With Libraries, add the Rust compilation outputlibswift_binding.athat we copied to the Xcode project
Then we can call the functions declared in the header file in Swift code. We need to initialize wgpu and call Rust's rendering function for each frame in the draw method of the Coordinator:
class Coordinator: NSObject, MTKViewDelegate {
    var wrapper: UnsafeMutableRawPointer?

    func mtkView(_ view: MTKView, drawableSizeWillChange size: CGSize) {}

    func draw(in view: MTKView) {
        if wrapper == nil {
            let metalLayer = Unmanaged.passUnretained(view.layer).toOpaque()
            wrapper = init_wgpu(metalLayer, Int32(view.frame.width), Int32(view.frame.height))
        }
        if let wrapper = wrapper {
            render(wrapper)
        }
    }
}
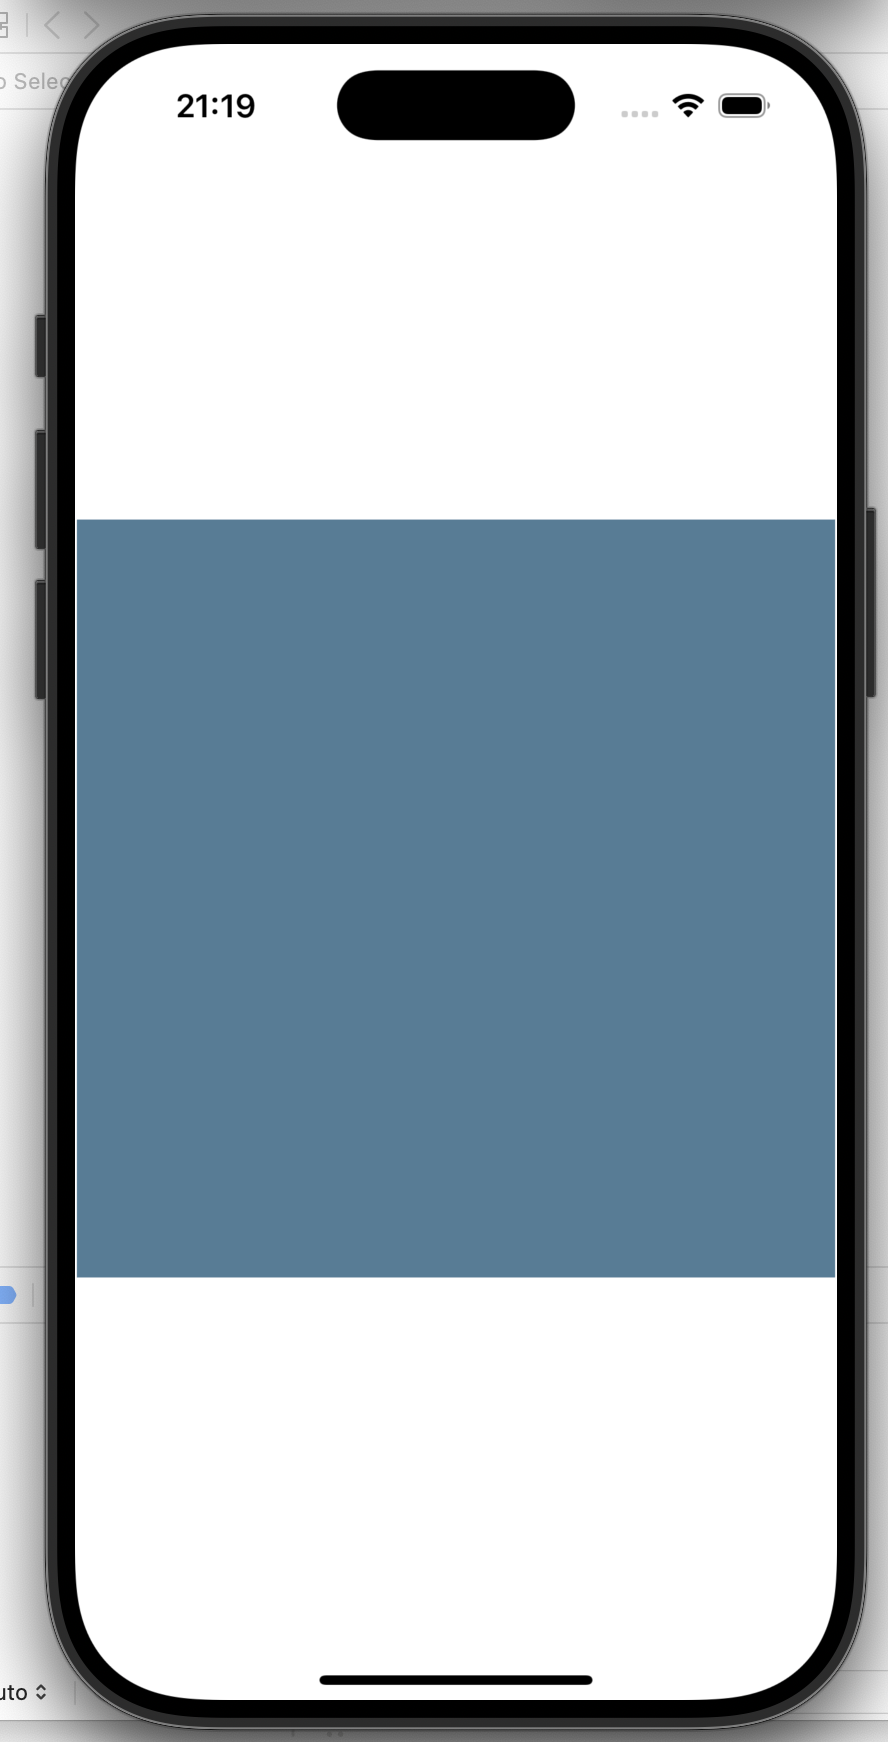
In the example project, if everything goes well, you will see a 400x400 blue rectangle rendered by wgpu on the simulator:

Rendering in Web Browsers
Implementing Web rendering is very similar to implementing iOS rendering. In the Web environment, the graphics backend is implemented by the browser calling the system's graphics backend, and Surface is derived from the Canvas element. Compared to iOS, packaging and communication between Rust (WebAssembly) and JavaScript is handled in a one-stop way by wasm-bindgen, and the API is very simple and easy to use.
What is WebAssembly
WebAssembly is another language that can be executed in browsers besides JavaScript, as specified by W3C. Its main purpose is to provide near-native running speed and make it possible for other programming languages to run in browsers.
Our design approach is the same as on iOS, using WebAssembly to expose initialization and rendering functions to JS. We can directly use the capabilities of wasm-bindgen to package the two functions into a struct and export a Class to JS.
#[wasm_bindgen]
pub struct WgpuWrapper {
    app: App,
}

#[wasm_bindgen]
impl WgpuWrapper {
    #[wasm_bindgen(constructor)]
    pub async fn new(canvas_id: &str) -> Self {
        let window = web_sys::window().expect("Cannot get window");
        let document = window.document().expect("No document on window");
        let canvas: web_sys::HtmlCanvasElement = document
            .get_element_by_id(canvas_id)
            .and_then(|element| element.dyn_into().ok())
            .expect("Cannot get canvas by id");

        let width = canvas.width();
        let height = canvas.height();
        let app = App::init(canvas, width, height).await;
        Self { app }
    }

    pub fn render(&self) {
        self.app.render();
    }
}
Here, our design is that JS passes the id of the target Canvas during initialization, and Rust uses web-sys to call the Document API to get the Canvas element. Next is the implementation of the encapsulated App struct, showing only the initialization function that has differences:
pub(crate) struct App {
    _canvas: HtmlCanvasElement,
    context: WgpuContext,
    renderer: Renderer,
}

impl App {
    pub async fn init(canvas: HtmlCanvasElement, width: u32, height: u32) -> Self {
        let context = wgpu_cross::init_wgpu(wgpu_cross::InitWgpuOptions {
            // Create handles from canvas element
            target: wgpu::SurfaceTargetUnsafe::RawHandle {
                raw_display_handle: {
                    let handle = WebDisplayHandle::new();
                    RawDisplayHandle::Web(handle)
                },
                raw_window_handle: {
                    let obj: NonNull<core::ffi::c_void> = NonNull::from(&canvas).cast();
                    let handle = WebCanvasWindowHandle::new(obj);
                    wgpu::rwh::RawWindowHandle::WebCanvas(handle)
                },
            },
            width,
            height,
        })
        .await;
        let renderer = Renderer::init(&context);

        Self {
            _canvas: canvas,
            context,
            renderer,
        }
    }
}
Unlike iOS compilation, compiling to wasm requires setting the compilation output type to a dynamic link library in Cargo.toml:
[lib]
crate-type = ["cdylib"]
Then use wasm-pack to compile the Rust code and automatically generate some glue code, such as:
export class WgpuWrapper {
  free(): void;
  constructor(canvas_id: string);
  render(): void;
}
Why Do We Need Glue Code
WebAssembly only specifies very simple data types (integers, floating-point numbers, vectors for SIMD) and basic computation instructions, branch instructions, etc. similar to assembly. To interact with the outside world (host environment), WebAssembly also specifies import and export. Therefore, glue code roughly has 2 purposes:
- Provide some APIs to WebAssembly that cannot be implemented by instructions, such as browser APIs
- Perform data serialization and deserialization. For example, String cannot be directly supported in Wasm, so glue code will copy the String to Wasm's Memory and convert it to two integers, ptr and len, representing the address and length of the string
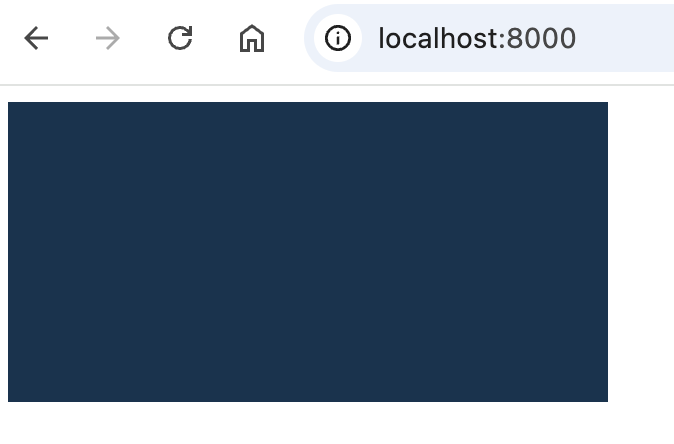
Finally, we can initialize WebAssembly in the Web project and call the Rust API we wrote. In the example project, if everything goes well, you will see graphics in the Canvas in the browser.

Conclusion
Through the practice in this article, we have successfully implemented cross-platform rendering of wgpu in Windows/macOS, iOS, and the Web (for Android, please refer to jinleili's article). This cross-platform capability is due to wgpu's abstraction and support for different rendering backends and display surfaces, allowing us to write a set of core rendering logic while only needing to make "minor" adaptations for different platforms.
In practical applications, this cross-platform solution provides significant advantages for developers. On one hand, it greatly reduces maintenance costs and the workload of developing separate rendering engines for each platform; on the other hand, with the continuous maturation of the Rust ecosystem and the advancement of the WebGPU standard, this cross-platform solution based on wgpu will become more refined and reliable.
I hope this article and the open-source code can be of help to everyone!
